Designed by Esther Smith Bozak, Copyright 1995. All rights reserved.
This pattern is being revised and that revised version will be available
as soon as it is ready for release as a little white dog design(TM)
pattern.
UPDATE: November 11, 2008
Due to circumstances beyond my control, the revised version will not be
available until sometime after the New Year. Winter is nearly upon us
here in North America, and I know there are many of you who wish to knit
sweaters for your dogs. So, I am making the
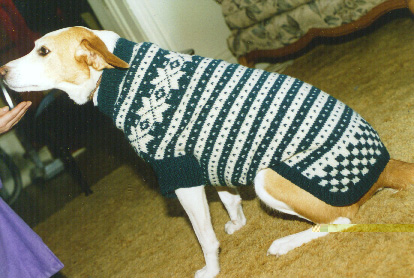
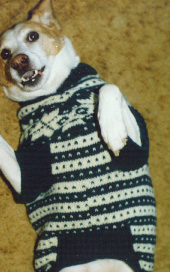
unrevised version of the Original Custom
Fit Dog Sweater available for use this winter. Check back later this week
for it.
Last Updated: November 11, 2008
Esther S. Bozak, ebozak@cs.oswego.edu
URL: http://www.cs.oswego.edu/~ebozak/knit/esb-patterns/dog-sweater.html